Bonnes pratiques en C++⚓
Blink sans delay() méthode plus « pro »
delay() bloque tout → mauvais en pratique
On utilise millis() → programme non bloquant
// constants won't change. Used here to set a pin number:const int ledPin = LED_BUILTIN; // the number of the LED pin
// Variables will change:int ledState = LOW; // ledState used to set the LED
// Generally, you should use "unsigned long" for variables that hold time// The value will quickly become too large for an int to storeunsigned long previousMillis = 0; // will store last time LED was updated
// constants won't change:const long interval = 1000; // interval at which to blink (milliseconds)
void setup() {
// set the digital pin as output:pinMode(ledPin, OUTPUT);
}
void loop() {
// here is where you'd put code that needs to be running all the time. // check to see if it's time to blink the LED; that is, if the difference // between the current time and last time you blinked the LED is bigger than // the interval at which you want to blink the LED.unsigned long currentMillis = millis();
if (currentMillis - previousMillis >= interval) {
// save the last time you blinked the LEDpreviousMillis = currentMillis;
// if the LED is off turn it on and vice-versa:if (ledState == LOW) {
ledState = HIGH;
} else {ledState = LOW;
}
// set the LED with the ledState of the variable:digitalWrite(ledPin, ledState);
}
}
Avantages :
le programme peut faire plusieurs tâches en parallèle
Bouton poussoir + anti-rebond (debounce)
Problème :
Un bouton « rebondit » → plusieurs détections au lieu d’une.
Solution simple avec millis()
/* Debounce*/// constants won't change. They're used here to set pin numbers:const int buttonPin = 3; // the number of the pushbutton pin
const int ledPin = 13; // the number of the LED pin
// Variables will change:int ledState = HIGH; // the current state of the output pin
int buttonState; // the current reading from the input pin
int lastButtonState = LOW; // the previous reading from the input pin
// the following variables are unsigned longs because the time, measured in// milliseconds, will quickly become a bigger number than can be stored in an int.unsigned long lastDebounceTime = 0; // the last time the output pin was toggled
unsigned long debounceDelay = 50; // the debounce time; increase if the output flickers
void setup() {
pinMode(buttonPin, INPUT);
pinMode(ledPin, OUTPUT);
// set initial LED statedigitalWrite(ledPin, ledState);
}
void loop() {
// read the state of the switch into a local variable:int reading = digitalRead(buttonPin);
// check to see if you just pressed the button // (i.e. the input went from LOW to HIGH), and you've waited long enough // since the last press to ignore any noise: // If the switch changed, due to noise or pressing:if (reading != lastButtonState) {
// reset the debouncing timerlastDebounceTime = millis();
}
if ((millis() - lastDebounceTime) > debounceDelay) {
// whatever the reading is at, it's been there for longer than the debounce // delay, so take it as the actual current state: // if the button state has changed:if (reading != buttonState) {
buttonState = reading;
// only toggle the LED if the new button state is HIGHif (buttonState == HIGH) {
ledState = !ledState;
}
}
}
// set the LED:digitalWrite(ledPin, ledState);
// save the reading. Next time through the loop, it'll be the lastButtonState:lastButtonState = reading;
}
Résultat :
1 appui = 1 action
comportement stable
Interruptions
Principe :
Arduino interrompt le programme quand un événement arrive
Exemple : bouton → réaction immédiate
const byte ledPin = 13;
const byte interruptPin = 3;  // input pin that the interruption will be attached to
volatile byte state = LOW;  // variable that will be updated in the ISR

void setup() {
  pinMode(ledPin, OUTPUT);
  pinMode(interruptPin, INPUT);
  attachInterrupt(digitalPinToInterrupt(interruptPin), blink, CHANGE);
}

void loop() {
  digitalWrite(ledPin, state);
}

void blink() {
  state = !state;
}
Règles importantes (très pro) :
Dans une interruption :
pas de delay()
pas de Serial.print()
code ultra court
utiliser volatile
TP : compteur de clique simulation sous Proteus
Télécharger le prpjet Proteus suivant.
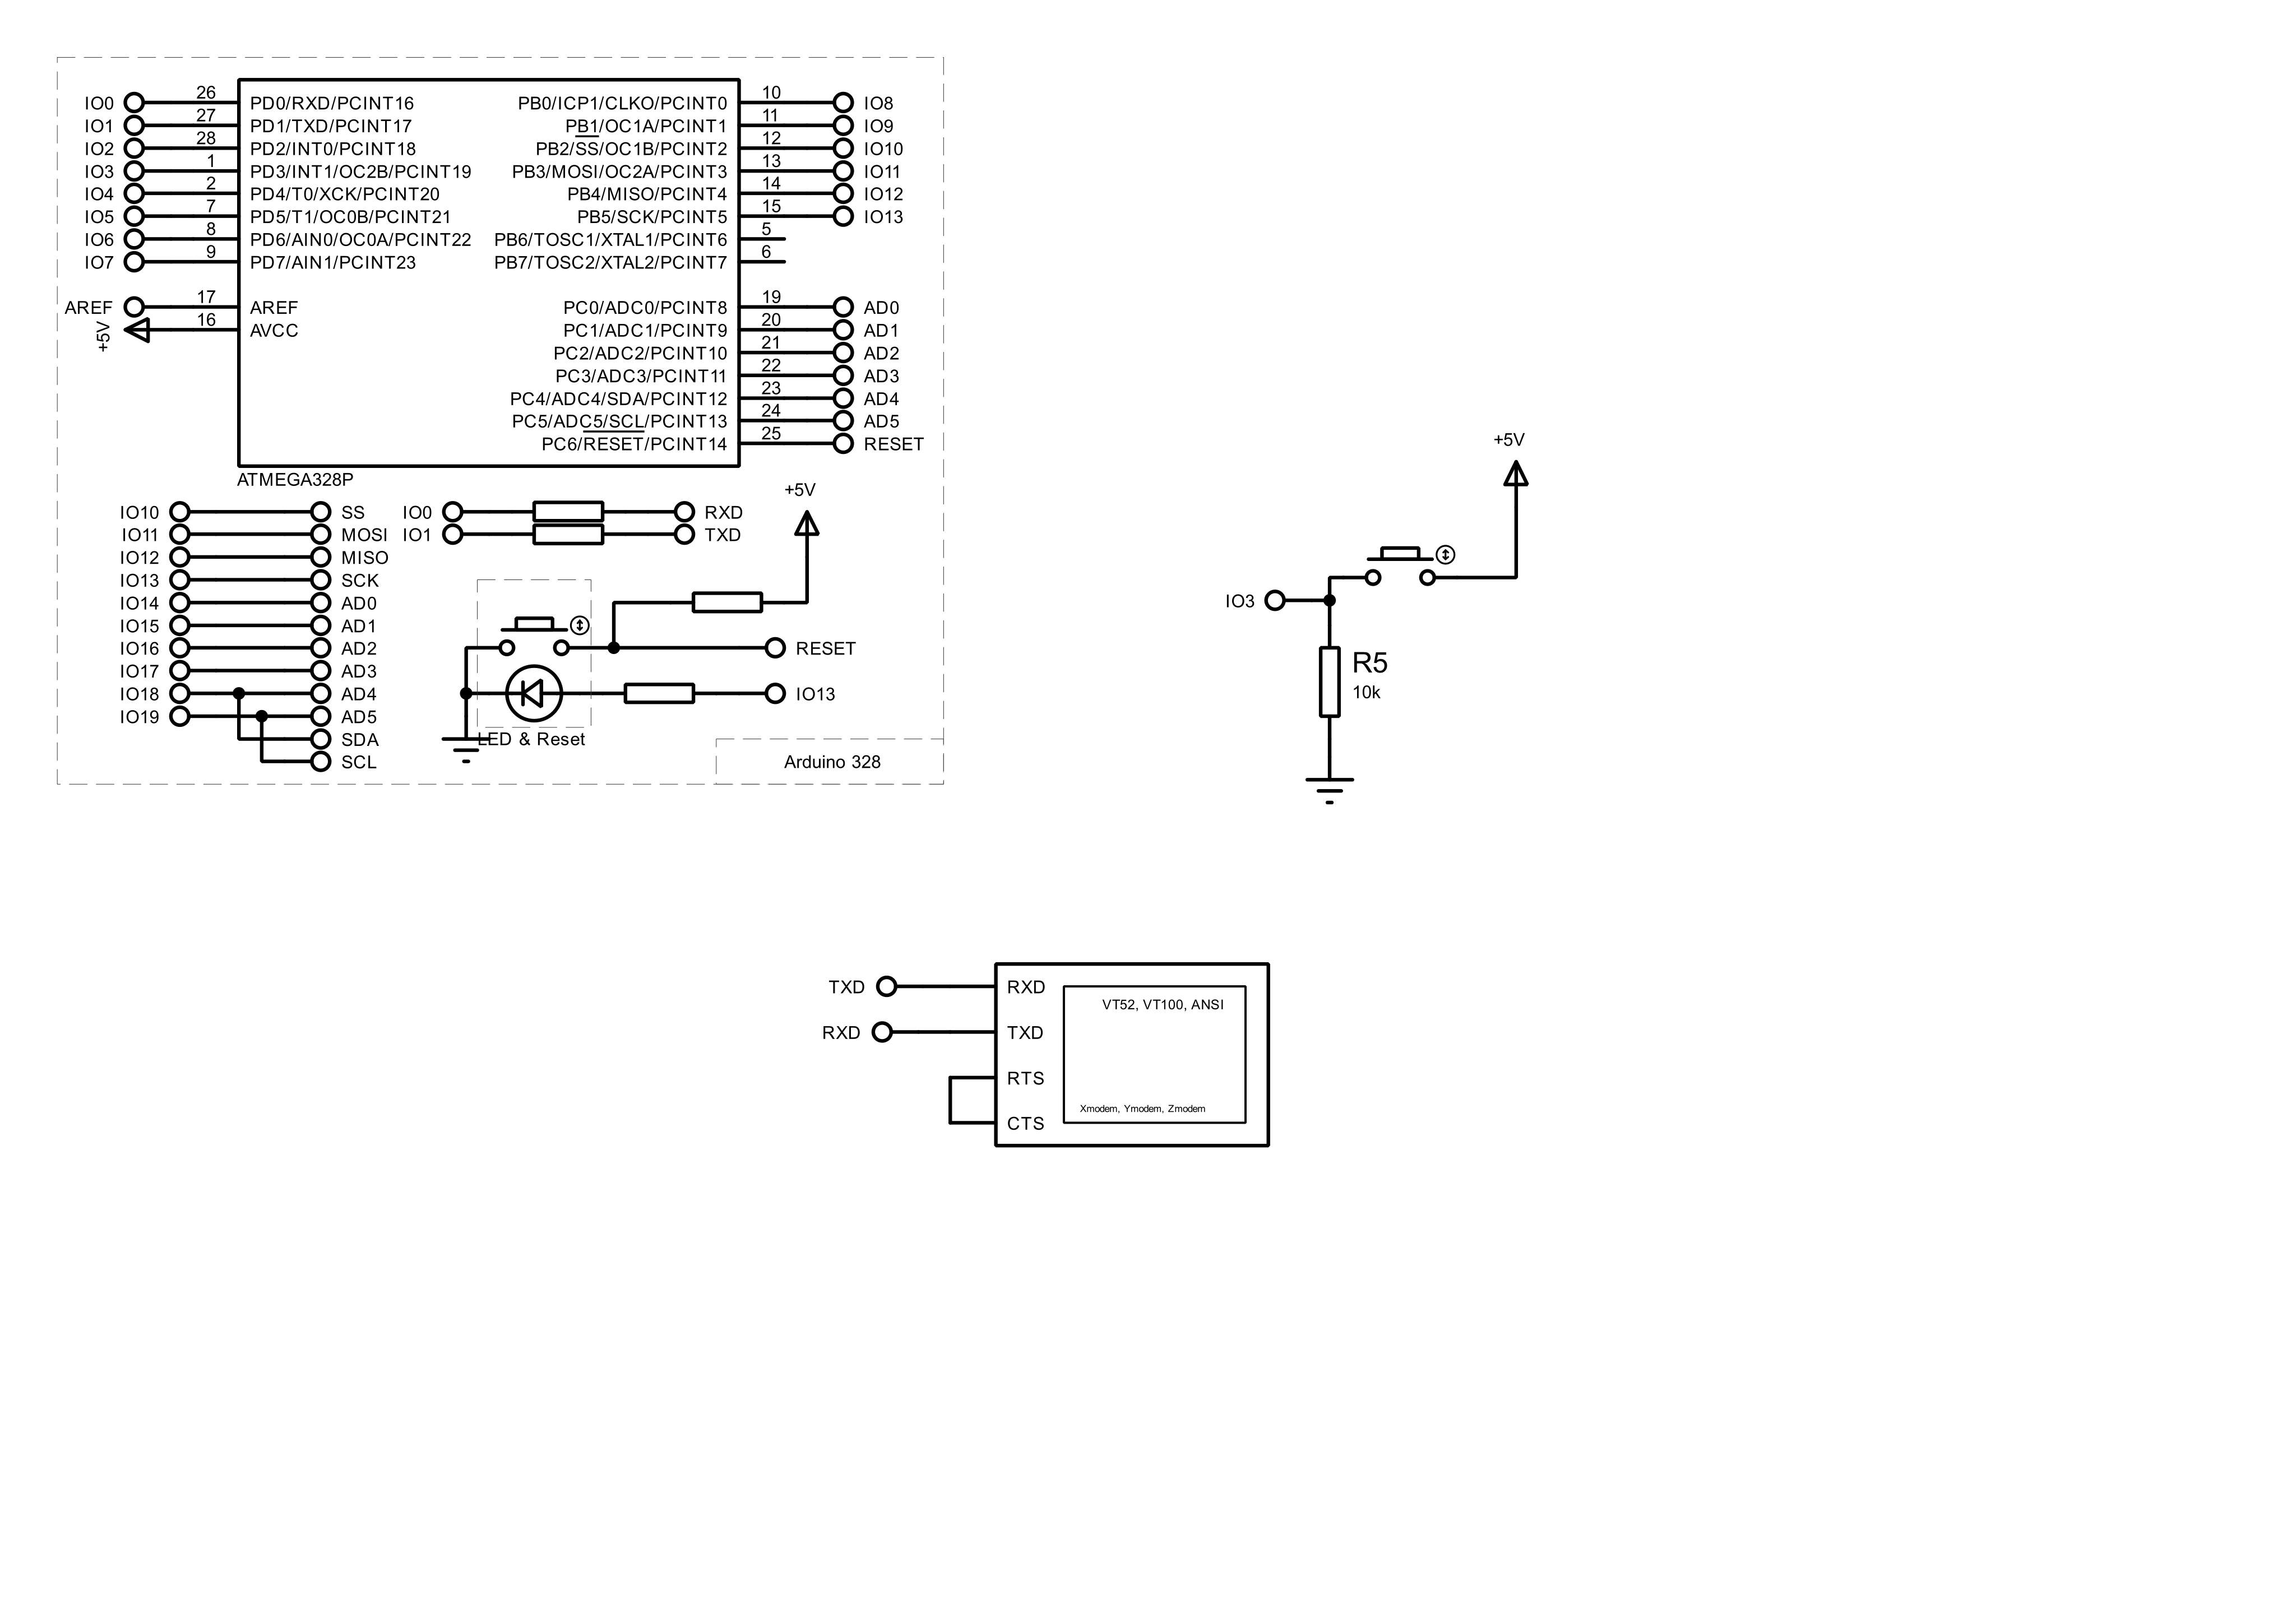
Ce projet actuellement change l'état de la LED lorsque l'on appuie sur le bouton poussir.
Modifier le programme de tels sorte à ce qu'il affiche la vitesse des appuis successifs dur le bouton.
const int BUTTON = 3;
int nbClick = 0;
int lastState = LOW;
void setup() {
Serial.begin(9600);
pinMode(BUTTON, INPUT);
}
void loop() {
int state = digitalRead(BUTTON);
// Détection du moment où on appuieif (lastState == LOW && state == HIGH) {
nbClick++;
Serial.println(nbClick);
}
lastState = state;
delay(50); // petit debounce simple
}
Même question en utilisant les interruptions.